Setting Up myRCC Password
- Go to myrcc.sunyrockland.edu in your internet browser.
- Enter the email address you received from your welcome email.
The format will be [email protected].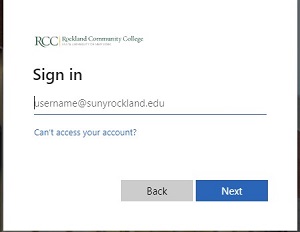
- You will be prompted to enter a password.
- New Students: Enter the temporary password you received. (This would have been sent to you with the welcome letter and instructions.)
- Returning Students: Use the same password you previously used to login
- If you have neither of the above please contact the IT Helpdesk at 1-877-241-1823 for further aid. (Be at a computer ready to try again when you call.)
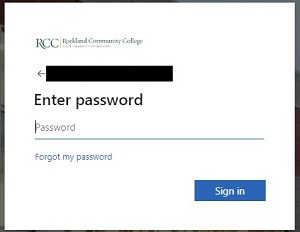
- After entering a temporary password:
- If you do not yet have Multi Factor Authentication (MFA) properly set up you will be prompted as shown in the following section called “Multi Factor Authentication Setup”.
- Returning parties who already have MFA properly set up skip to the section titled “Password change prompt”
Multi Factor Authentication Setup
At this point you can only set up one MFA option.
- Once you complete the setup and can successfully login you may return and set up additional MFA options.
- This is highly recommended.
- To learn how to do this skip to the section called Addendum I at the end of this document.
- You will need to set up your MFA if the following screen appears, click Next.
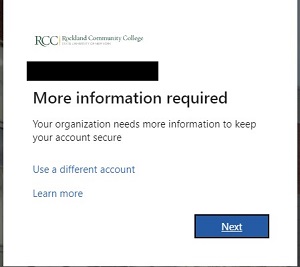
- You can now go through the steps to set up the MFA with the Microsoft Authenticator app on your phone (see Microsoft Authenticator steps below) or you can click on “I want to set up a different method.”
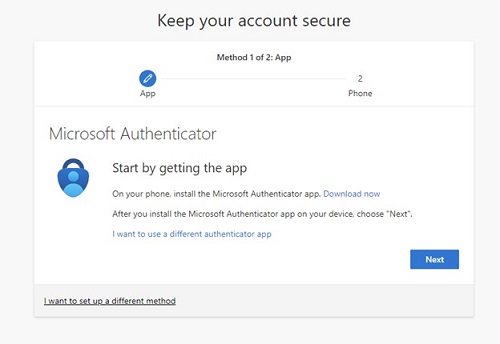
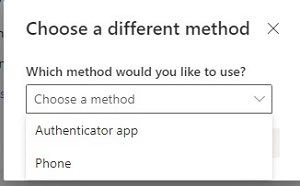
- First we’ll start with the Phone option. Click the down arrow and select Phone.
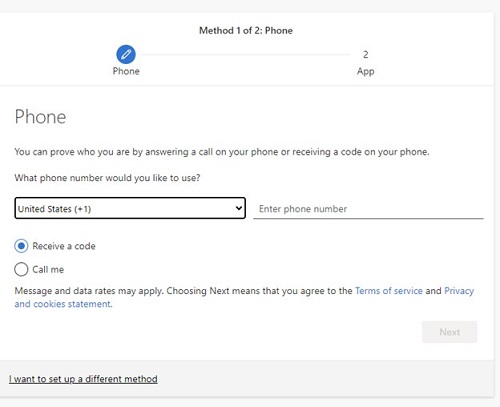
- Enter full cell phone number without any dashes. Click Next.
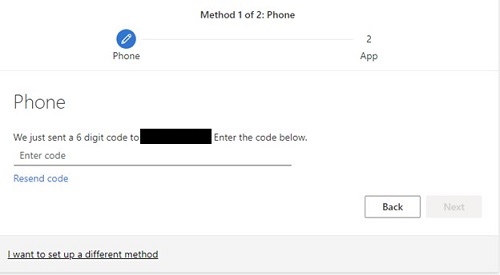
- You will receive a text message with a six-digit verification code. Enter the code and click Next.
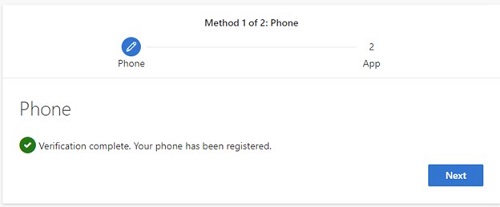
- A green check mark should appear. Click Next.
Microsoft Authenticator Steps
- For the Microsoft Authenticator option, you will need to download the app on your phone. Click Next
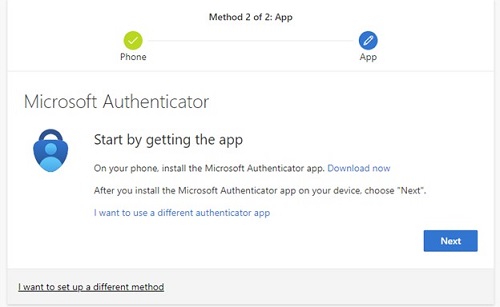
- Follow the steps on the screen. Click Next.
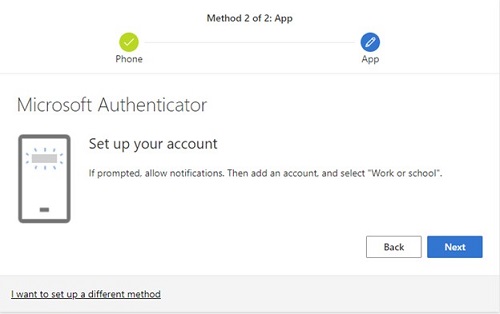
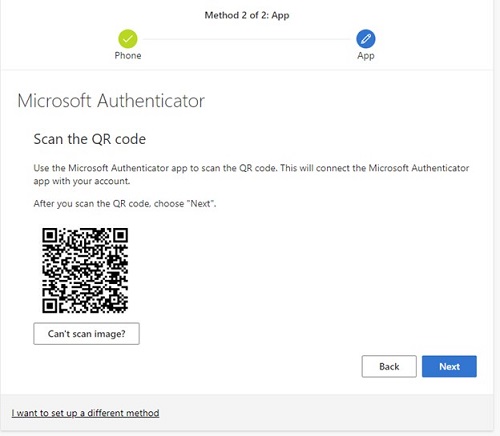
- Scan the QR code with your Microsoft Authenticator app on your phone. Click Next.
- Enter the code you see on the screen into your Microsoft Authenticator app.
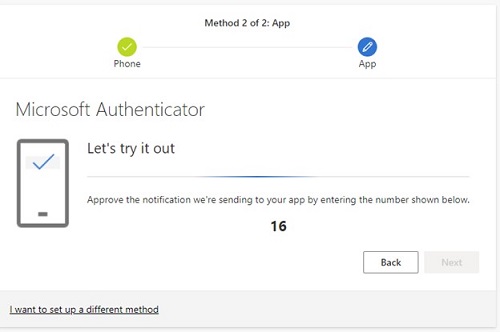
- Once approved click Next.
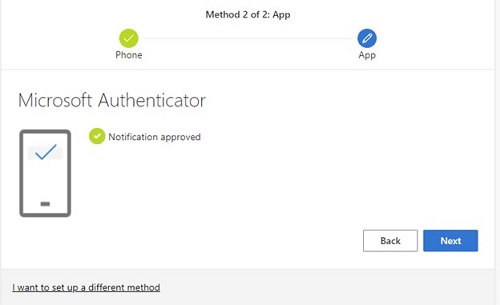
- Click done.
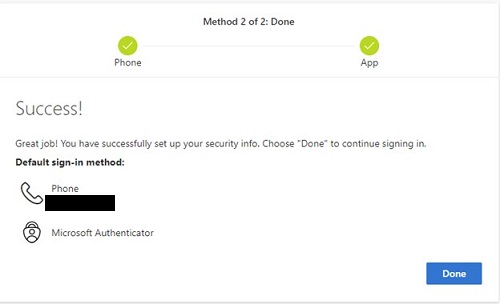
Password Change Prompt
You will be prompted to change your temporary password at this point.
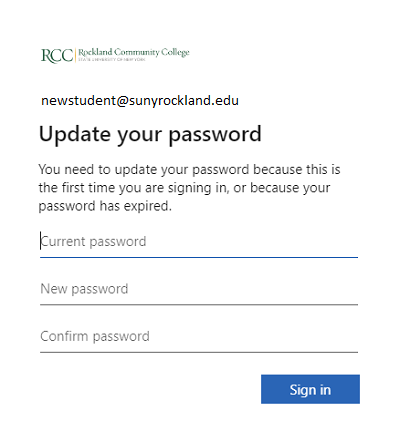
The screen will ask for the current password, which is the temporary password you received via email and to enter a new password of your choice and then confirm the new password.
Please remember that your new password needs to contain the following:
- At least 12 characters long
- Include at least one capital letter.
- Include at least one number.
- Include at least one special character (examples of special characters are @ # ! % & * + etc)
- Do not include your name in the password.
Once the new password is accepted, students who previously configured their myRCC Ellucian Experience cards will go straight to myRCC and are now complete.
For those who have not yet setup myRCC and Ellucian Experience continue to the next section “Setting up myRCC (Ellucian Experience preferences)”
Setting Up myRCC
(Ellucian Experience preferences)
- Read the introduction and click Get Started.

- Read the instructions about removing and organizing cards and then click Next.
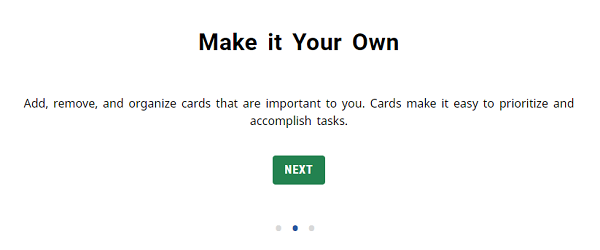
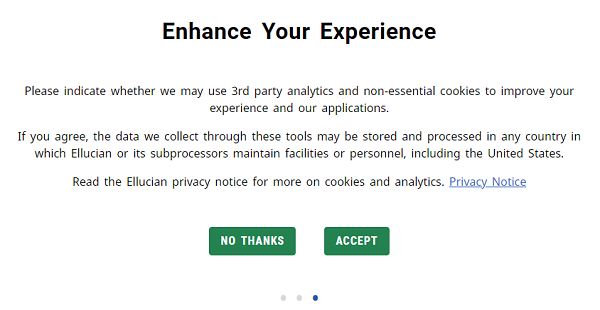
- Choose whether to accept or decline data collection.
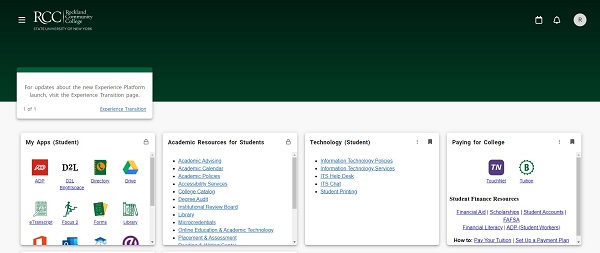
- You will now be redirected to your myRCC portal.
Addendum Section I
Configuring additional MFA options
- Log in to myRCC
- Navigate to the three bars in the upper left corner as shown below

- A pop-up menu appears.
- Select “Resources”
- Select “My Microsoft account”
- Login with current credentials
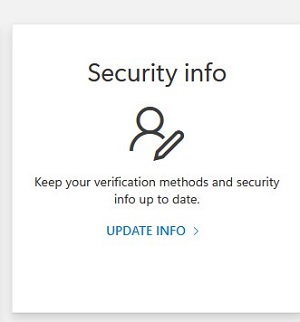
- Click “Security Info”
or
- Your current configurations will appear as shown below
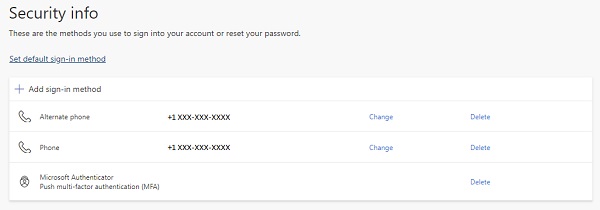
- You may make changes here. Click add sign in method to add a new option

- Select option form the choose a method drop down
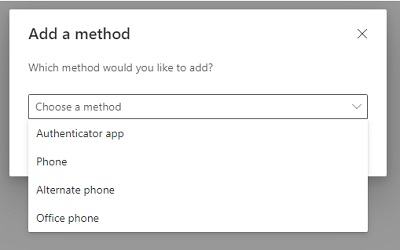
- For any line you no longer want to use click the “DELETE” option for that line
OR for a line that has a phone number you wish to change click the “CHANGE” option for that line.
